WAVLINK AC1200 SETUP
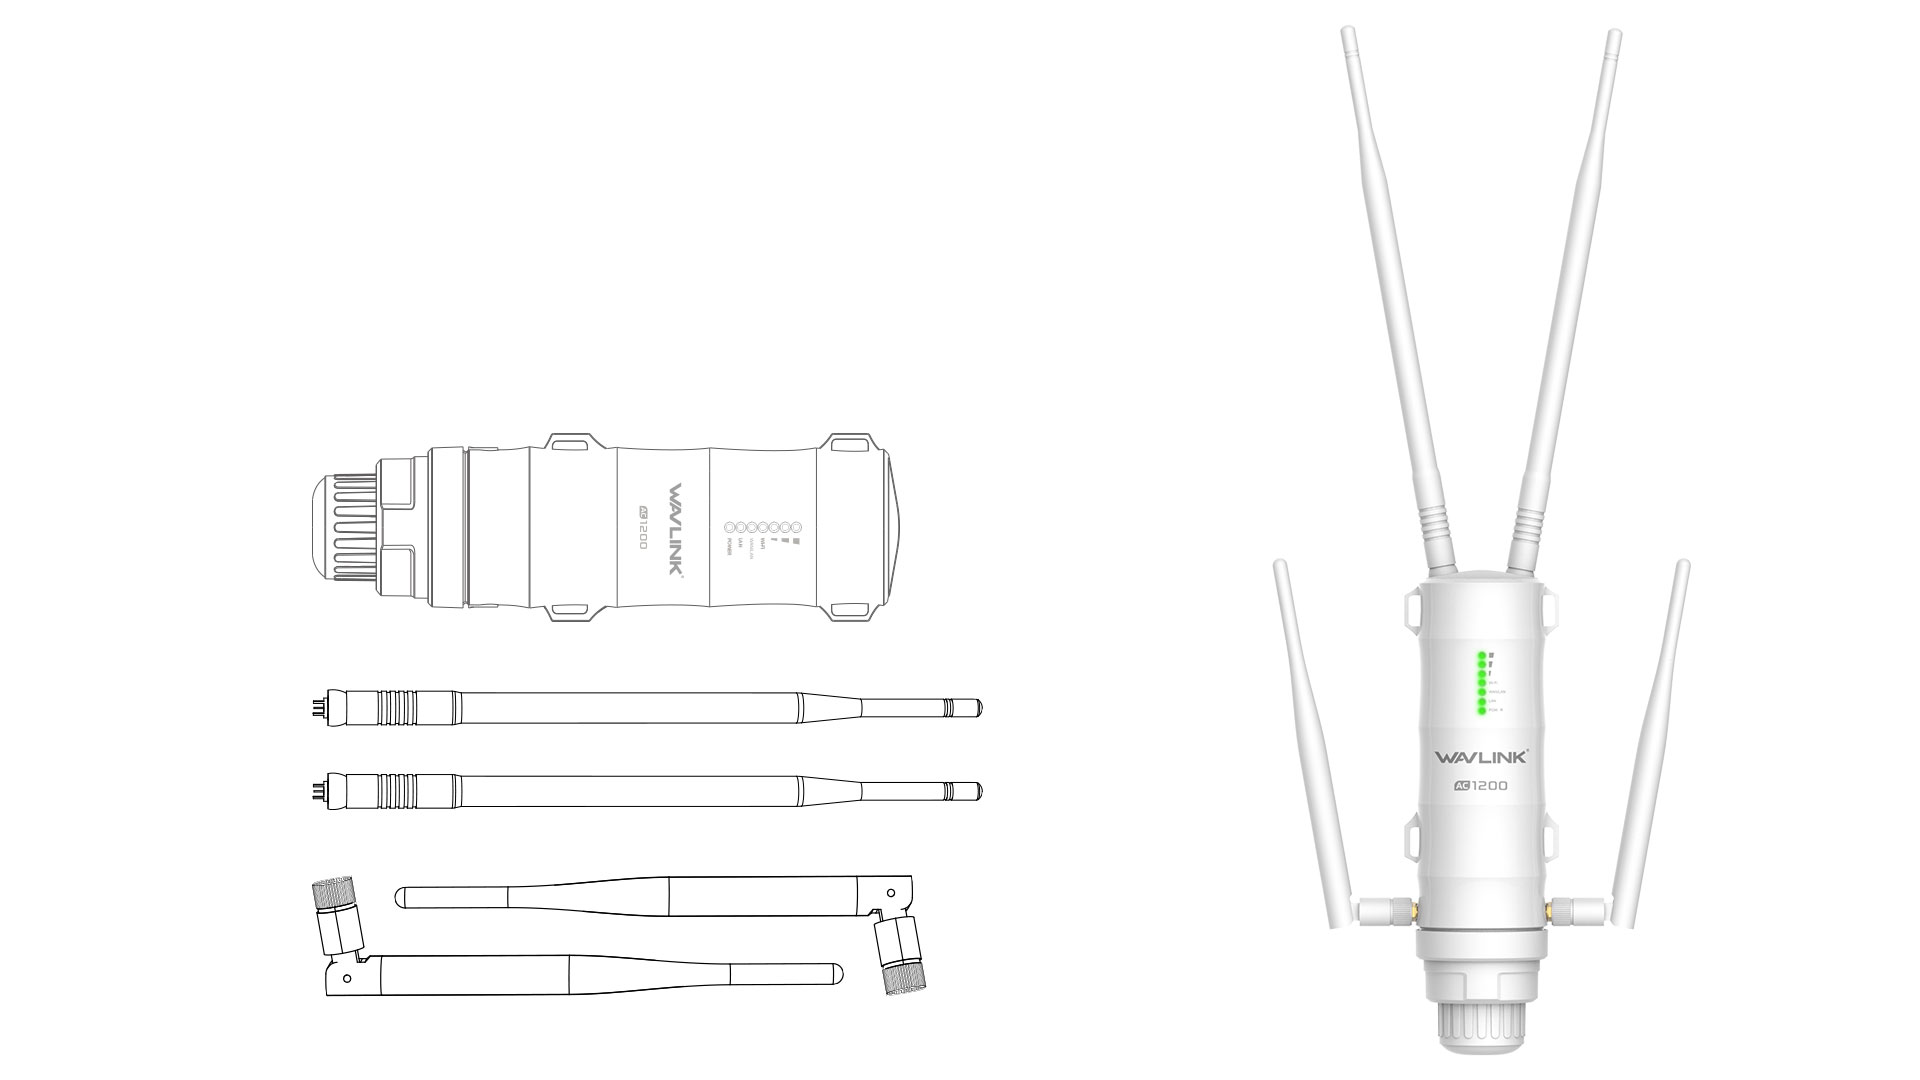
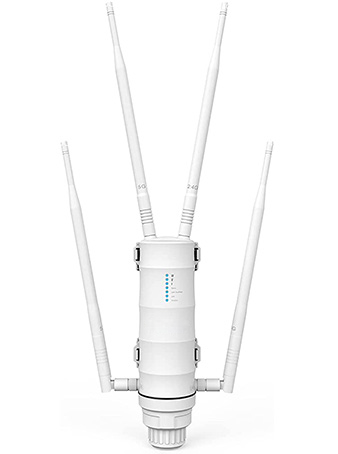
Wavlink Outdoor AC1200 Extender Setup
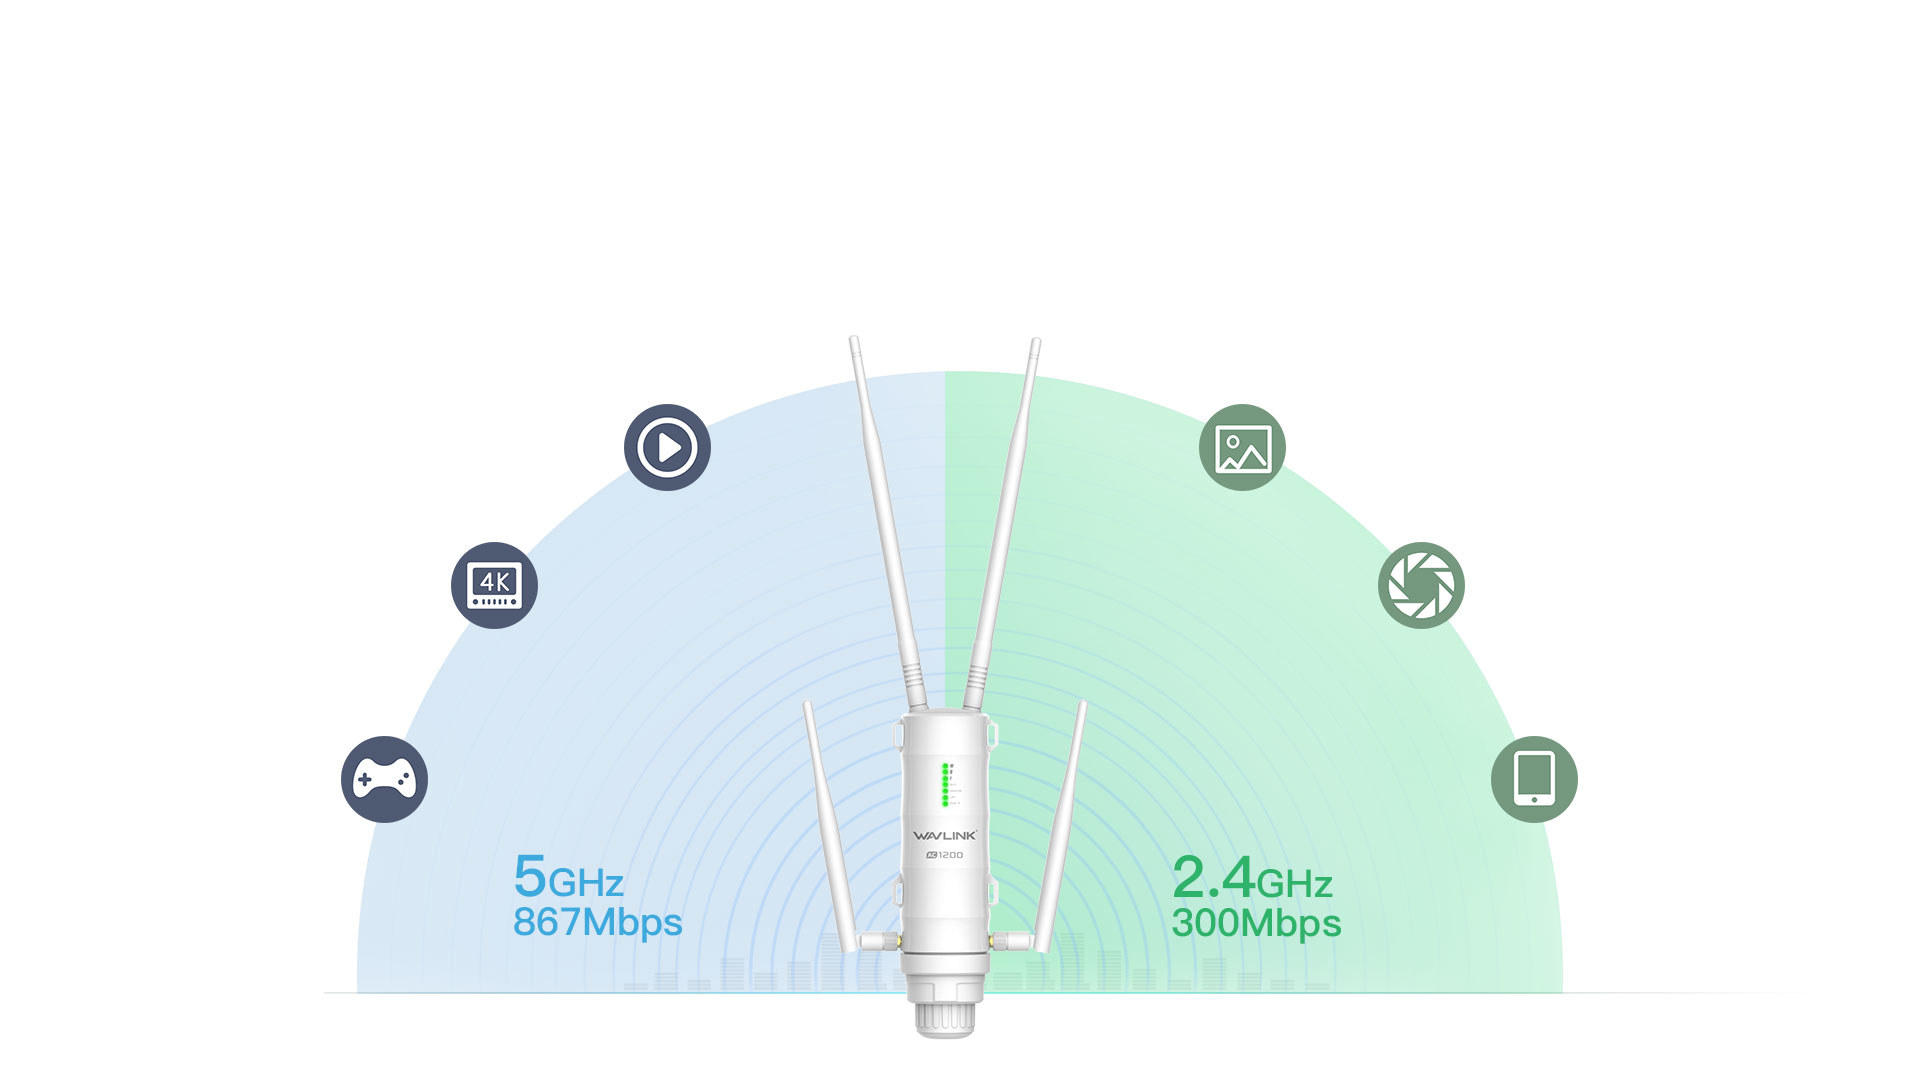
Using the Wavlink AC1200 setup guide, you can connect the Outdoor extender to your wireless router. You may strengthen the signal of your wireless network and ensure constant connectivity to far-reaching devices by using a Wavlink AC1200 booster.
We can now talk about how to access the manual setup page for an ap wifi extender:
- Take the extender out of the package and plug it into the outlet.
- When the power LED light turns green, press the power button.
- Now join the Ap extender setup _Ext network with your WiFi device.
- Now type Ap.setup into any available web browser.
- You are now on the configuration page for the Wavlink AC1200 extender.
- Make an account for AP Login and then follow the instructions.
WAVLINK AC1200 OUTDOOR SETUP
WAVLINK AC1200 EXTENDER SETUP GUIDE
To set up the Wavlink Wing12M AC1200 High Power Outdoor WiFi Range Extender, follow these steps:
Start by connecting the Wing12M Extender to a power source using the provided power adapter.
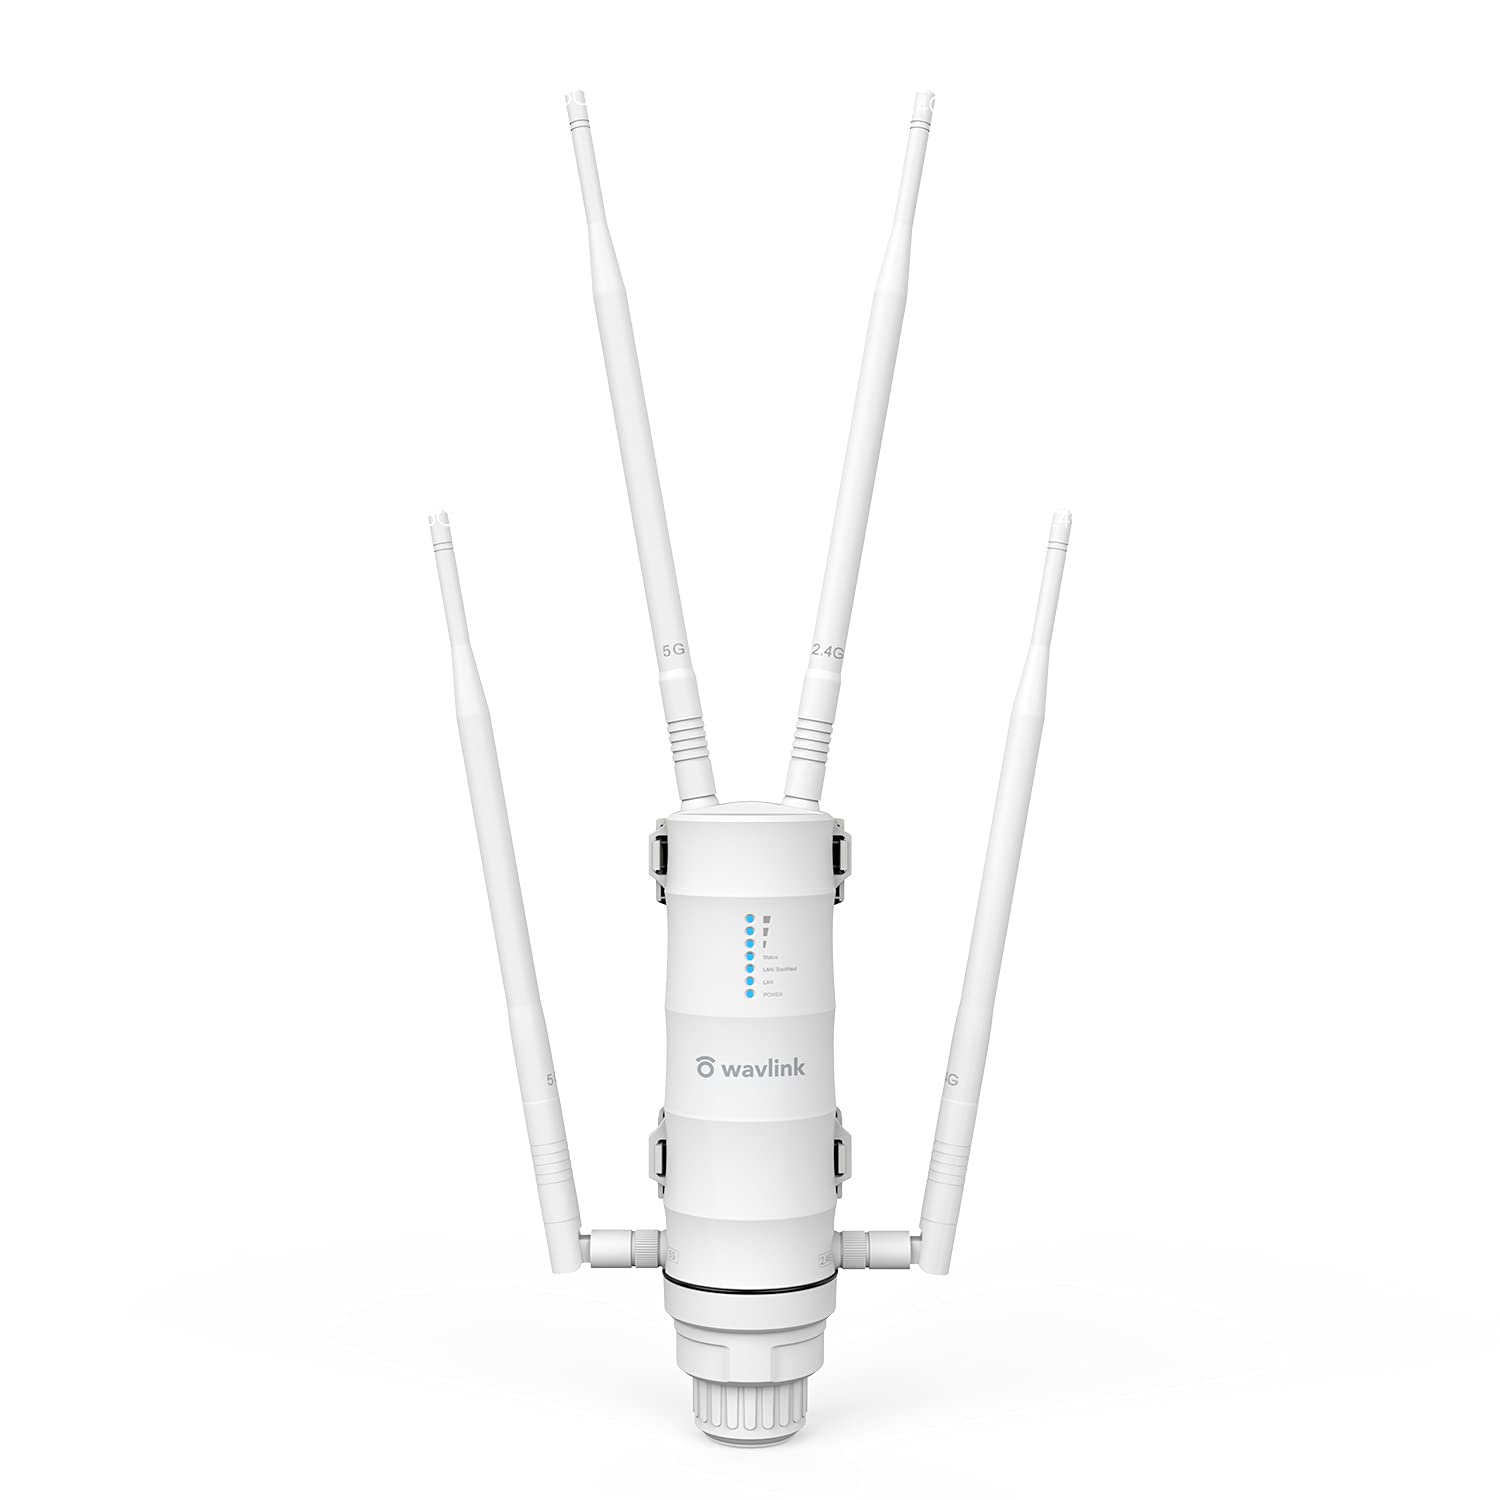
Locate the Wi-Fi network on your device (laptop, smartphone, tablet) and connect to the network named “Wavlink-XXXX” (the “XXXX” represents a unique identifier for your extender).
Once connected to the Wavlink network, open a web browser (such as Chrome, Firefox, or Safari) and enter “http://ap.setup” or “http://192.168.10.1” in the address bar. Press Enter to proceed.
You should now be on the Wavlink Extender setup page. If prompted, enter the default login credentials. The default username is “admin,” and the default password is “admin” or “password.” However, please note that these login details may vary, so consult the product documentation for the correct credentials.
After logging in, you will be guided through the setup wizard. Follow the on-screen instructions to configure your extender.
During the setup process, you will need to select your existing Wi-Fi network and enter the password for it. This will allow the extender to extend the range of your existing network.
Once you have completed the configuration, save the settings, and wait for the extender to reboot. This may take a few minutes.
After the extender has rebooted, disconnect from the Wavlink network and reconnect to your original Wi-Fi network.
Test the Wi-Fi signal strength in the areas where you previously had weak or no coverage. The Wavlink Wing12M Extender should now provide a stronger and more reliable Wi-Fi signal.
Note: It’s important to place the extender in an optimal location to ensure the best coverage. Position it within the range of your existing Wi-Fi router but closer to the areas with poor signal strength.
If you encounter any issues during the setup process, consult the user manual or visit the Wavlink support website for further assistance.
Wavlink AC1200 Setup
How to Setup Wavlink Outdoor Extender Via Ap.setup?
- Plug in the wavlink extender into power.
- wait for the light to get solid.
- Open setting and look foe “wavlink_ext”.
- Now, grab a laptop or desktop.
- Open Ap.Setup or 192.168.10.1
- Enter the default login credentials i,e “admin”.
- Now click on Wavlink Smart Wizard Setup.
- Now hit the finish button .
Wavlink Wing 12m AC1200 Setup
AP.SETUP
192.168.10.1
Wavlink Wing 12m Extender Setup
- Connect the power adapter to a nearby power source.
- Now your Wavlink AC1200 extender ought to be near your router.
- At this moment, connect your wifi device to the _Ext network for the Ap extender Setup.
- Any web browser should be opened, and the address should be Ap.setup.
- You’ve reached the Wavlink extender’s settings page.
- Create an AP Login account and adhere to the on-screen instructions.
- The extender will strengthen the network once it is found. Additionally, the extended and standard networks will use the same SSID and password.
- As a result, all you have to do to get started is log in with your current password.
AP OUTDOOR EXTENDER SETUP
Let’s quickly review the manual technique for installing the Wavlink extender:
- Connect your Wavlink AC1200 Extender close to the main modem or router.
- As soon as the extender’s firm power light appears.
- Grab any wifi-enabled device, such as a laptop, tablet, or phone.
- After that, select the wifi option under Settings on your wifi device.
- A network name will appear. Installing Wavlink Extender Ext
- following affiliation with the “EXT” network
- Open any web browser, and in the address bar, type ap.setup.
- On the screen, you’ll see the new extender setup page.
- Installing/connecting the extender requires following the AP Extender Setup instructions.
To install the Wavlink 12m extender, Follow these instructions:
- Place the extender close to the primary wifi modem or router as the first step.
- The Wavlink wifi range extender is now turned on.
- and watch for a solid green power lead to appear.
- To turn on the extender’s power led, press the W.P.S button.
- Push the W.P.S button on the router/modem by going to it now.
- You will notice a green light that blinks on both your router and the extender.
- Wait 1-2 minutes for the WiFi AC1200 range extender and house wifi system to sync.
- The setup for the Wavlink ac1200 extender was successful.
- To complete the installation procedure, log in to Ap.setup.
WAVLINK AC1200 EXTENDER SETUP GUIDE

Wavlink AC1200 Extender Setup
The steps for setting up a Wavlink N300 outdoor extender are as follows:
- Turn on your N300 after unpacking it.
- Make sure the router is nearby before placing it.
- Join the _Ext Ap extender configuration.
- Visit Ap.setup using any web browser.
- You can see the wavlink extender configuration page on the screen.
- Add your customised information to create your Ap login account.
- You must adhere to the on-screen directions in order to complete the setup process.
- Now turn off your N300 and put it where you want it.
How to configure WAVLINK outdoor Wi-Fi range extender?
Wavlink Wing AC1200 Outdoor WiFi Extender Setup
To install the Wavlink AC1200 Outdoor WiFi Range Extender using the WPS technique, follow the instructions below:
- Connect the Wavlink AC1200 Outdoor Extender to a power source.
- Wait for the solid blue light to illuminate, indicating that the extension is turned on.
- Push the WPS button on the extender now.
- Then, on the wireless router or modem, press the WPS button.
- Do not unplug the AC1200 while the extender’s LED is flashing.
- The Wavlink AC1200 setup using the WPS technique is now complete.
- On the WIFI repeater, the power, client, device, and WPS all become solid green.
- Place the Wavlink Outdoor Extender where the weak signals are. Also, make sure you have excellent WiFi connectivity.
Wavlink Wing 12m Outdoor Range Extender Setup | Manual Method
Let’s take a brief look at how to install Wavlink Wing outdoor Extender manually:
- Connect your Wavlink Outdoor extender to the primary router/modem.
- Once you notice the extender’s firm power light.
- Take out any wifi device, such as a phone, tablet, or laptop.
- Then, on your wifi device, go to the settings menu and select the wifi option.
- A network name will be shown. Wavlink Extender Installation_Ext
- Following your connection to the ‘EXT’ network
- Launch any web browser and enter ap.setup into the URL box.
- On the screen, you will see a new extension setup page.
- Install/connect the extender by following the AP Extender Setup instructions.
Wavlink Quantum d4g Extender Setup | Quantum D4G WiFi Range Extender Setup
- Connect the Quantum d4g Extender to a power supply that is nearby.
- Your Wavlink d4g Extender should now be close to your router.
- Connect your wifi device to the Ap extender setup _Ext network at this time.
- Launch any web browser and enter Ap.setup into the URL box.
- You’ve arrived at the Wavlink Quantum d4g Extender setting screen.
- Create an AP Login account and follow the directions on the screen.
- Once identified, the Quantum d4g Extender will increase the network. Furthermore, the SSID and password for both the extended and normal networks will be the same.
- All you need to do now is log in with your current password and you’re good to go.
Note: If you Face any Trouble Regarding Wavlink Quantum d4g Extender Setup, Feel free to reach us.
WAVLINK AC1200 REPEATER SETUP GUIDE
WAVLINK Wi-Fi Repeater Setup typically involves the following steps:
Place the Wavlink AC1200 Repeater Setup: Find a suitable location to place the WAVLINK repeater. It should be within the range of your existing Wi-Fi router but close enough to the area with weak Wi-Fi coverage.
Power on the repeater: Plug the WAVLINK repeater into an electrical outlet and turn it on. The device should power up, and you may see indicator lights showing its status.
Connect to the repeater’s Wi-Fi network: On your computer or mobile device, search for available Wi-Fi networks. Look for a new network with a name like “WAVLINK” or “WAVLINK-XXX,” where “XXX” is usually the model number of the repeater. Connect to this network using the default Wi-Fi password, which is often written on the device’s label or included in the product documentation.
Access the repeater’s setup page: Once connected to the WAVLINK repeater’s Wi-Fi network, open a web browser (e.g., Chrome, Firefox) and enter the default IP address of the repeater into the address bar. The default IP address is typically “192.168.10.1” or “192.168.0.1”. Press Enter.
Login to the repeater’s setup page: You will be prompted to enter the default username and password for the repeater’s setup page. This information should also be provided in the product documentation or on the device’s label. After logging in, you may be asked to change the default password for security purposes.
Choose the operation mode: In the setup page, you will see different operation modes for the repeater, such as Repeater, Access Point, or Router. Select “Repeater” mode.
Scan for available Wi-Fi networks: The WAVLINK repeater will now scan for nearby Wi-Fi networks. It should detect your existing Wi-Fi network. Select it from the list.
Enter your Wi-Fi network password: When prompted, enter the password for your existing Wi-Fi network. This will allow the repeater to connect to your main router.
Configure the repeater’s settings: You may have the option to change the SSID (name) of the extended Wi-Fi network, set a password for the repeater’s Wi-Fi network (if different from the main network), and adjust other settings as needed.
Save settings and restart: After configuring the settings, save the changes and wait for the repeater to restart.
Connect to the extended Wi-Fi network: Once the repeater has restarted, disconnect your computer or mobile device from the WAVLINK AC1200 Repeater’s Wi-Fi network and reconnect to the new extended network (the one with the SSID you configured).